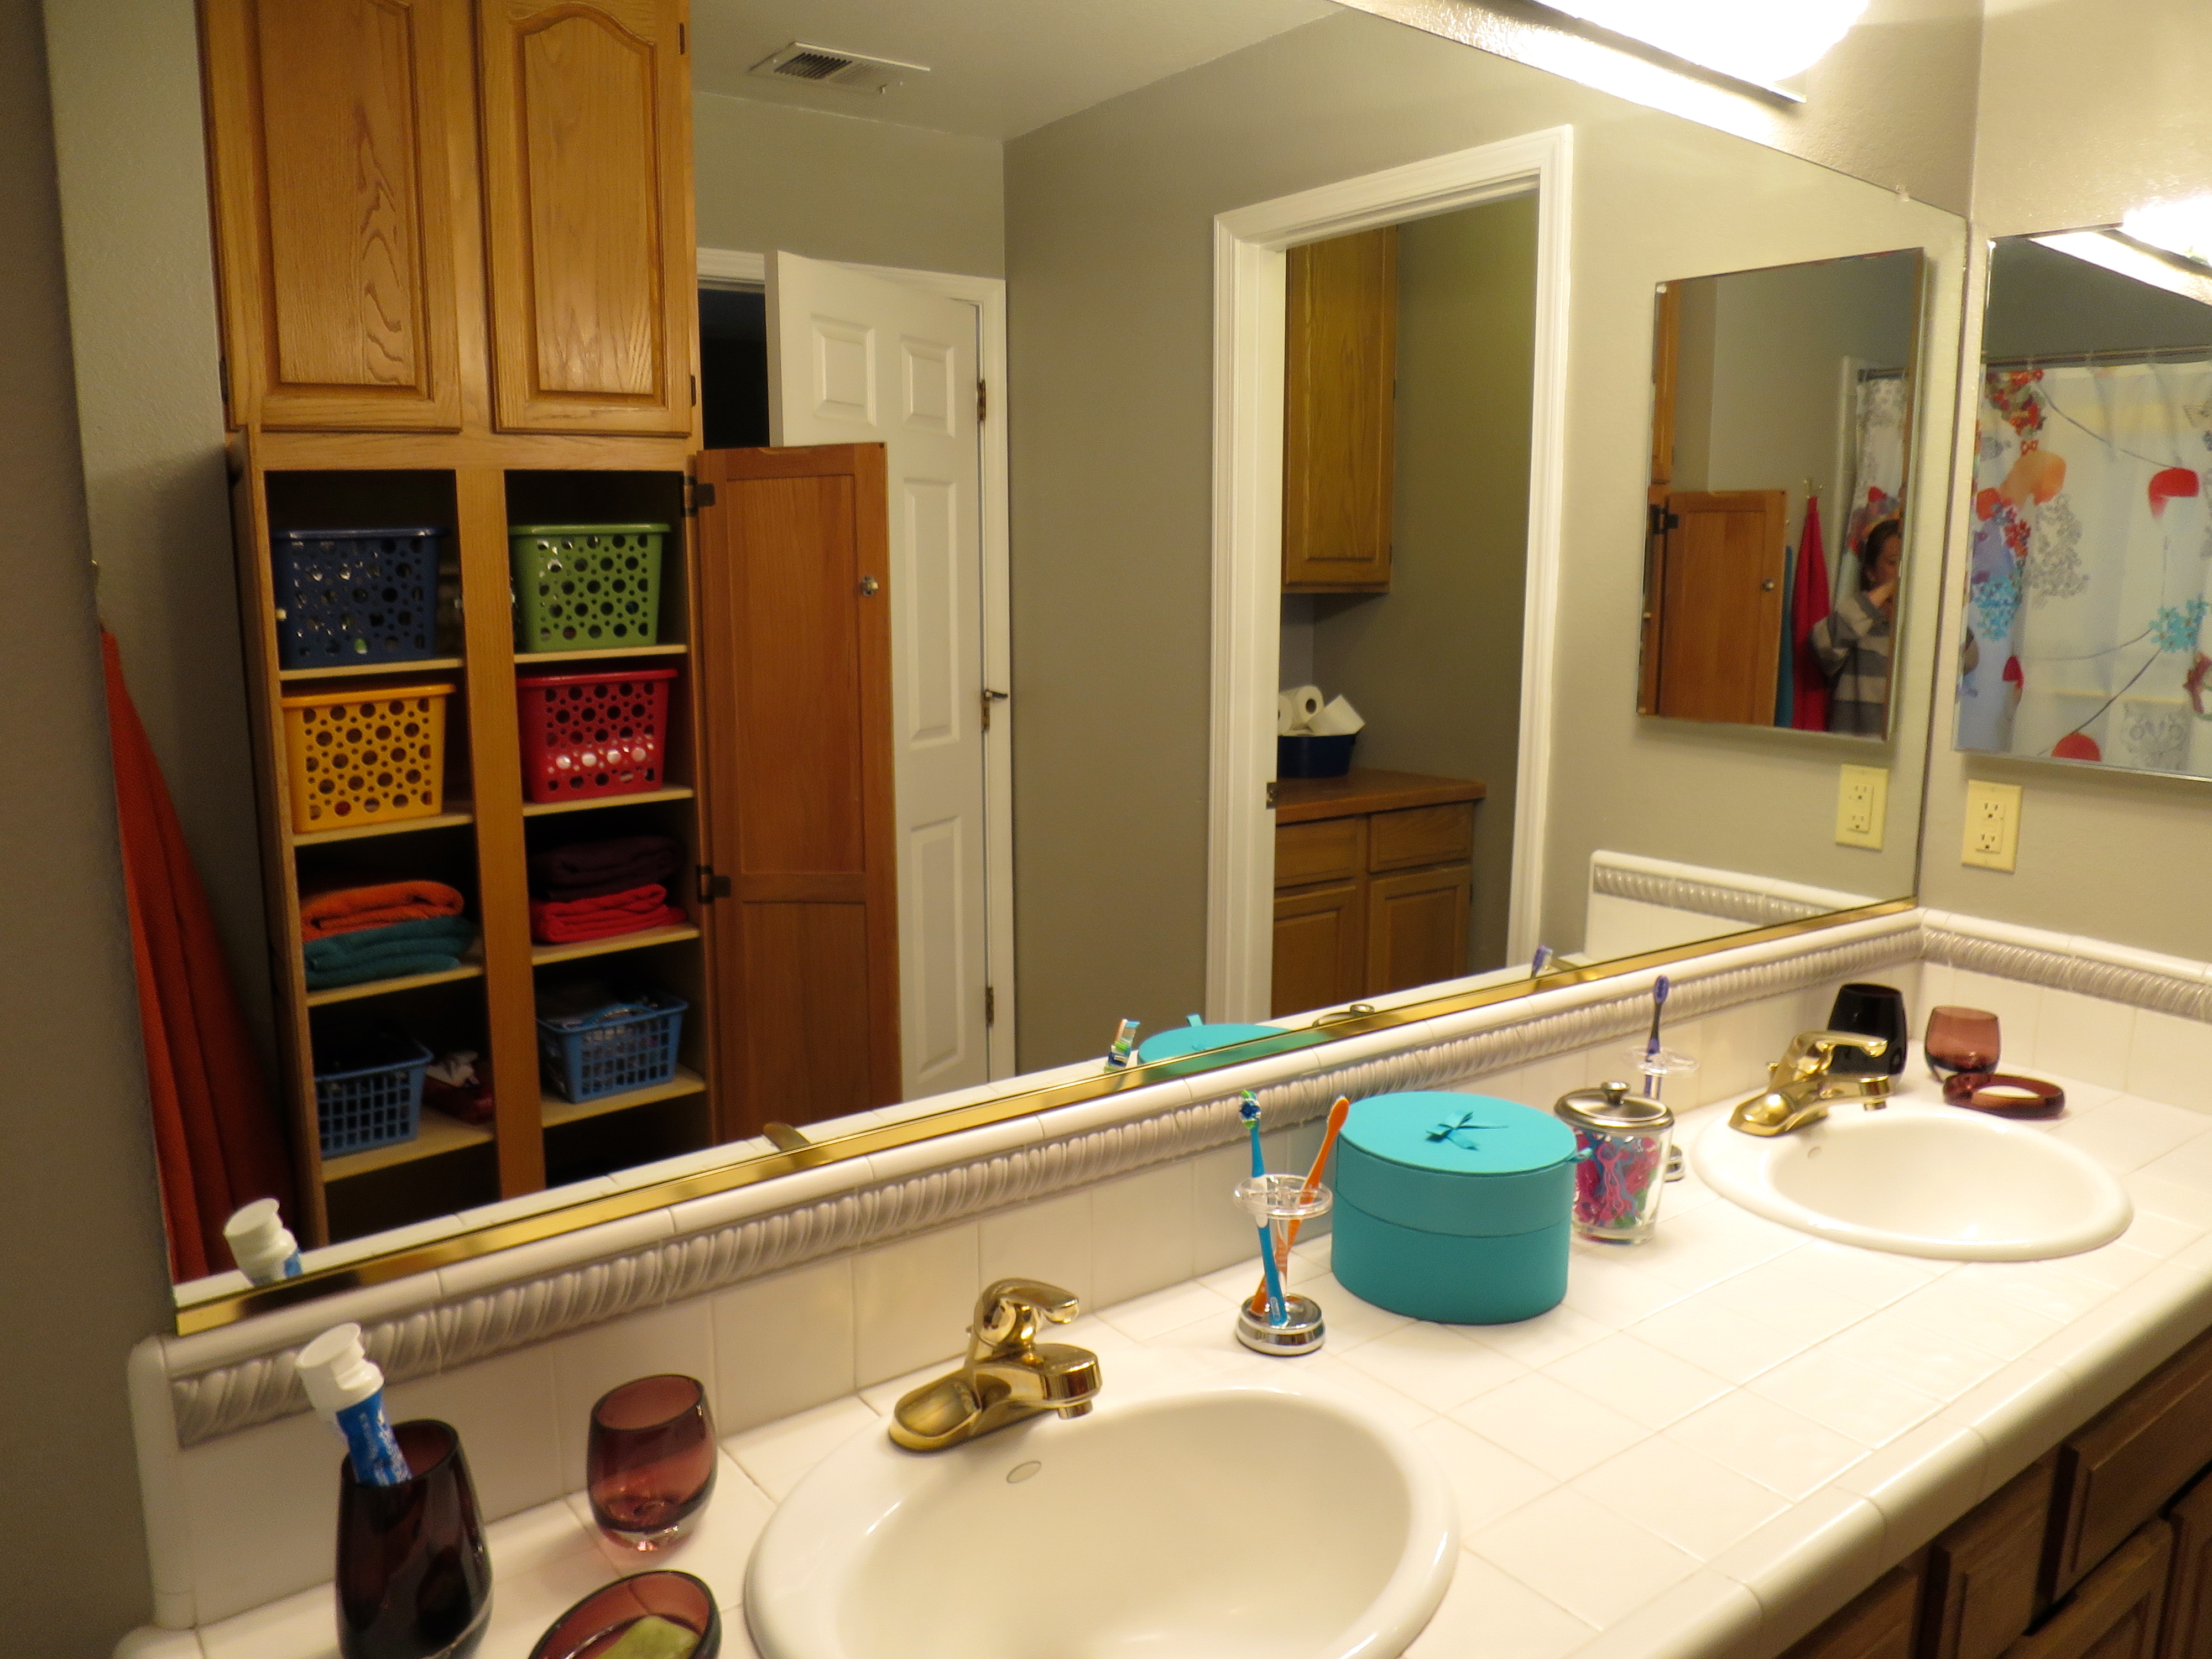

Ever since my husband and step-son replaced the ceiling fan in our master bedroom, I have been wanting to get rid of the oak colored bathroom cabinets. I never really liked them to begin with, but moving our bed to face the bathroom combined with switching the fan suddenly made the oak color really stand out. It was standing out in a sore thumb kind of way. So much so that, I knew I needed to change it. Replacing the cabinets is not an option, but if you have been following my blog, you know I love to paint! So paint to the rescue!

The oak colored cabinets are out numbered by our dark bedroom furniture.
The small cabinet is going to need a change as well 🙂

A before shot of the bathroom.

And even more cabinets to be painted.

After a bit of investigation, I choose to use Rustoleum’s Cabinet Transformation product. For my small project I only needed one kit, and I purchased it at Home Depot (one of my favorite stores!). I only had the little pictures on the side of the box to help me choose my color, but after a bit of contemplation I choose espresso. I do wish they had larger color chips to look at!


Spring break was coming, and I had a whole “Stacey-Do-List” planned for my week off work. My list consisted of cleaning out the garage, re-organizing my closet, planting all the beautiful flowers my students gave me, and yes, painting out our bathroom. My five “free” days filled up fast! I planned on spending two days to transform my bathroom. Ha! I should have read the instructions a bit closer – this was at a minimum a four day project. The extra time is needed for drying time in between the various coats of paint. But starting a project first and then carefully reading the instructions is more my style 🙂 Had I known it would take me five days, I might not have started. I did read through the information for the process, but I did not closely pay attention to the timeline :)Lucky for me, the product itself is rather straight forward, and it even comes with an instructional DVD.
Below is a quick run down on the steps that you go through using this product.
- Step one: Set up a work station: This would be a covered table and all supplies.
- Step Two: Take all doors and hardware off. This is a bit of a pain, but it needs to be done. My little electric screw driver worked well. I also love the small screwdriver set that a friend gave me as a housewarming gift when I moved into my own place after my divorce. It has come in handy many, many times!
- Step Three: Wash and scrub all surfaces that are to be painted with the Deglosser, wipe Deglosser off with a damp rag, and then wipe again with a dry rag. This then requires a one hour dry time.
- Step Four: This should be time to tape around all surfaces to be painted. I did not tape off. I have found that I am better and more successful without the tape.
- Step Five: Paint first coat of the Bond Coat. After a drying period of two hours go ahead and paint on the second coat. There is a 2-3 hours dry time again after second coat. Do the back sides of cabinet doors first, followed by the front side. Essentially you are practicing on the back side.
- Step Six: Apply Decorative Glaze. This is considered optional, but the glaze gives it the professional looking finish by adding depth to the paint when it darkens the wood grain. Even with my darker color you can see the difference. This coat has a minimum dry time 8 hours. Each side!

This is the back side of my cabinet doors. The door on the right has a coat of the decorative glaze.
- Step Seven: Carefully (Please watch video) paint on the Protective Top Coat. I found this step to be the most challenging! However, my mistakes did not show up until the product had dried. The cabinet facing was not the problem, it was doing both sides and edges of the cabinet doors that proved to be difficult. Part of the problem was the groves and edging on the front of my doors – this allowed the protective top coat to pool more than I realized. Most of the problem occurred while I had the doors drying on the table. The product continued to pool unbeknownst to me until the following day. I thought I had all of the extra Protective Top Coat removed with my dry brush, but apparently not. As the doors sat on the plastic table cloth, it pooled around the edges and dried. They suggest placing the doors on stands made from wood and nails, but I did not want to take the time to create these. My cousin Kris at atthebeachwithkris.com had a great idea of using plastic solo cups to hold up the doors while they dry. I should have done this! Next time I will. You can see her project here: How to Create Your Own Two-Toned Kitchen. Kris used a different product than I did, but she loved the way her kitchen cabinets turned out.
And my finished bathroom cabinets…


 My two furry friends, Lucy and Dakota, that follow me everywhere!
I really like the way the cabinets turned out! My husband is happy with them as well. There are some imperfections, and I learned what I would do differently next time. I would use the red solo cups to hold up the doors! But the imperfections are slight, and only discernible to the discriminating eye.I would like to paint my kitchen this summer. That will be a huge job compared to my bathroom, so I am trying to really think this one through. With the kitchen, I would also replace all of the hardware. That makes it an even bigger job! But for a few hundred dollars, it would become a whole new kitchen!